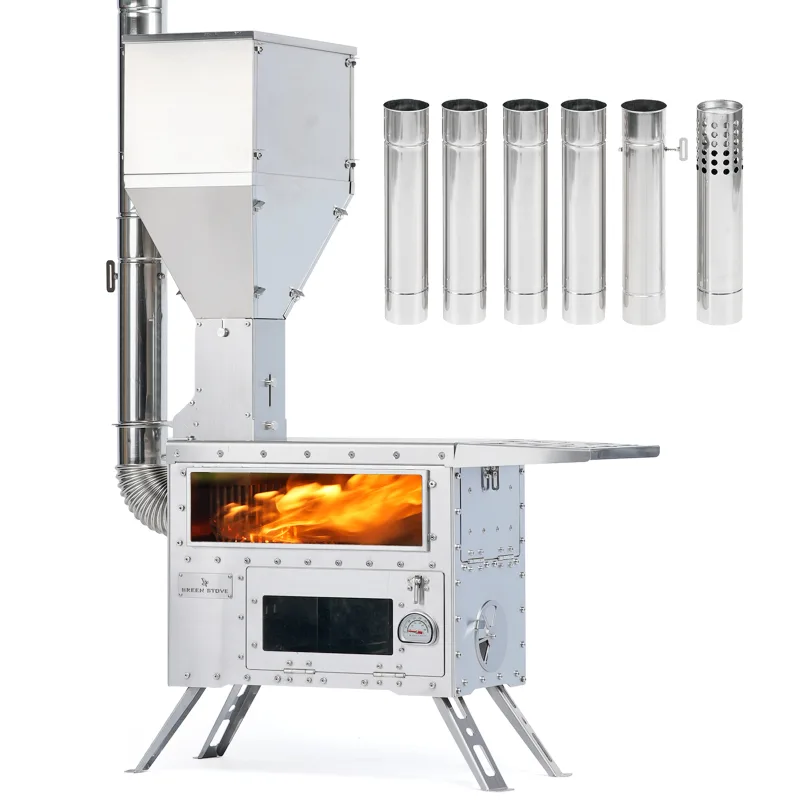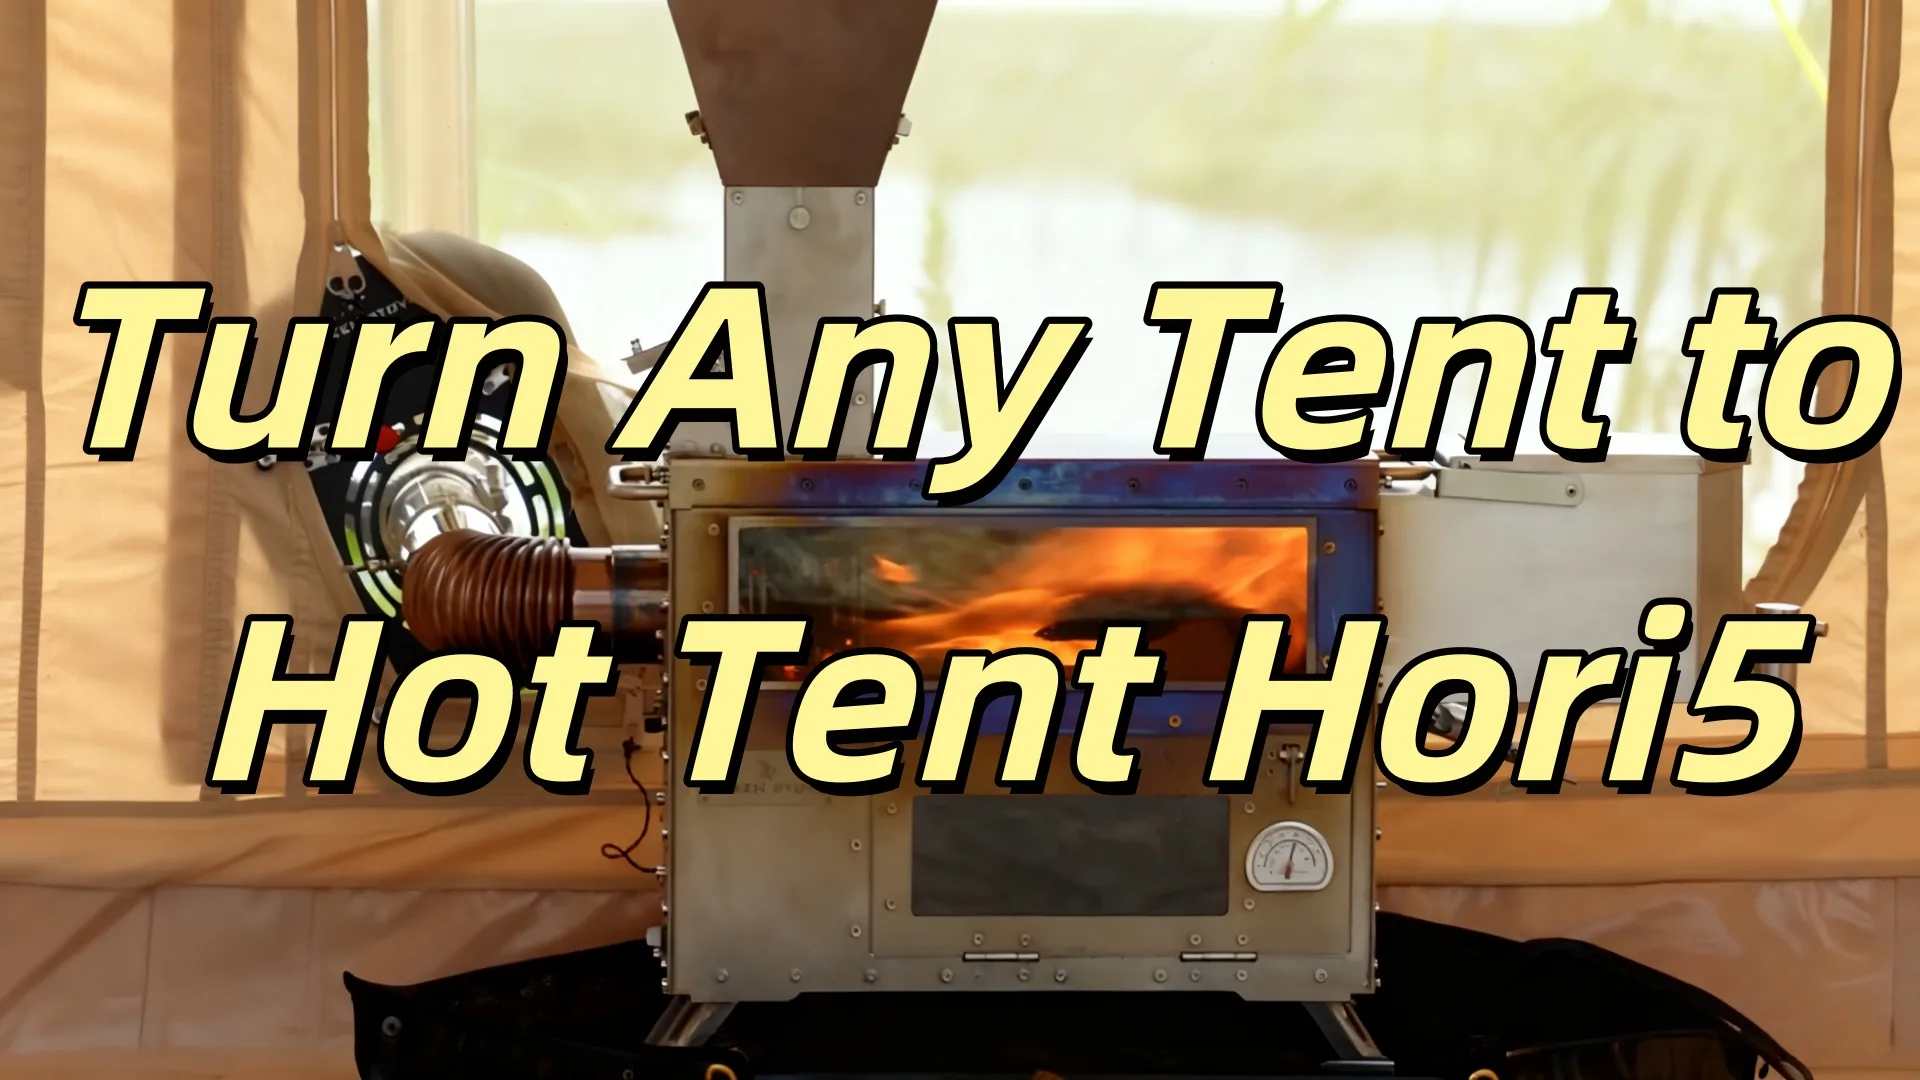
Have you ever dreamed of winter camping but were held back because your tent doesn’t have a chimney opening for a pellet stove? Green Stove now offers the ultimate solution, allowing you to safely convert a standard tent into a cozy “hot tent.” This guide will walk you through the process by demonstrating the installation of a Green Stove Hori 5 titanium pellet stove in an inflatable tent without a pre-existing stove jack.
Preparation: Necessary Accessories
To achieve a side-exit chimney setup, you will need the following additional accessories besides the stove itself:
- Additional 90° elbows
- Additional stove pipe sections
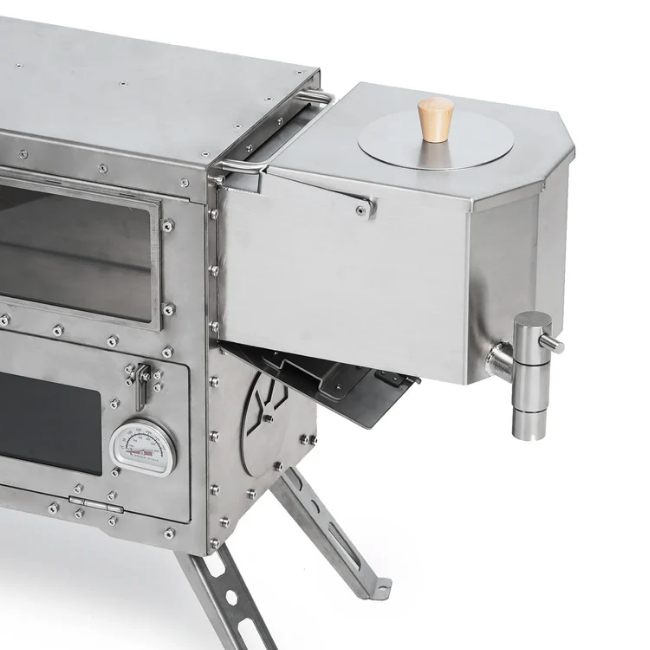
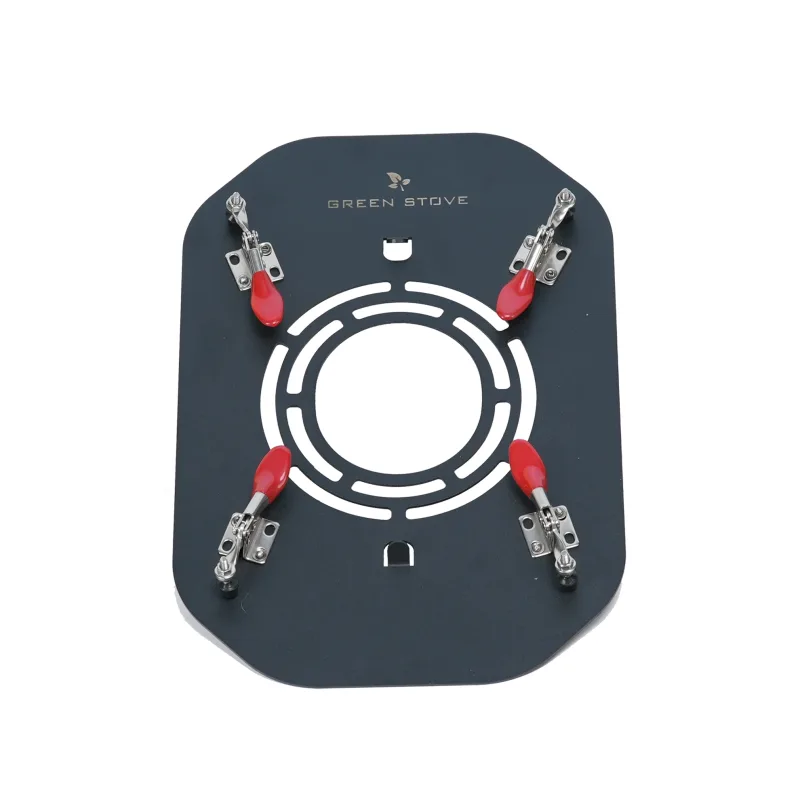
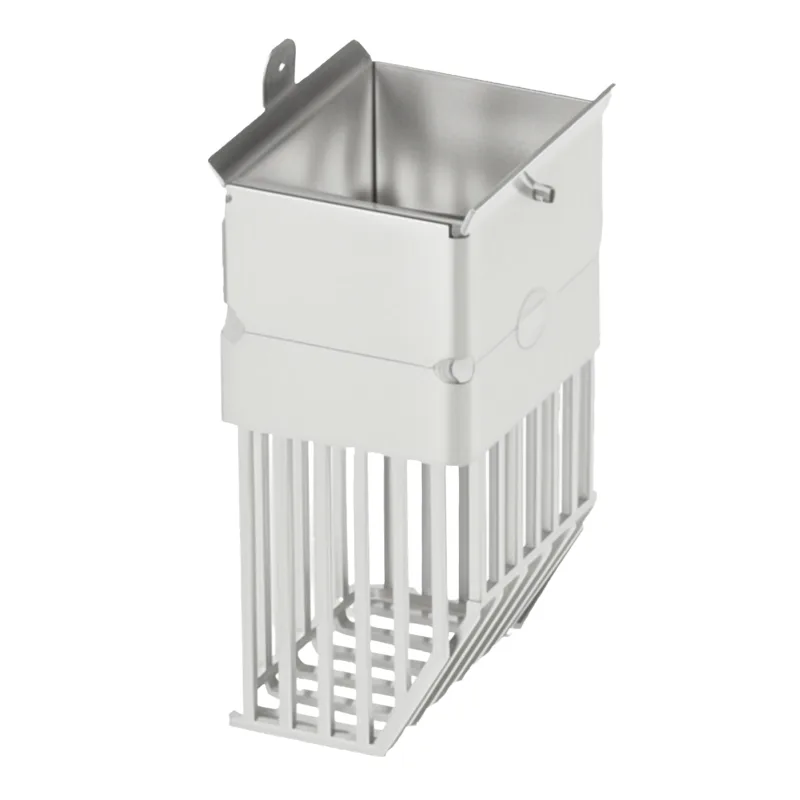
- A heat shield ring
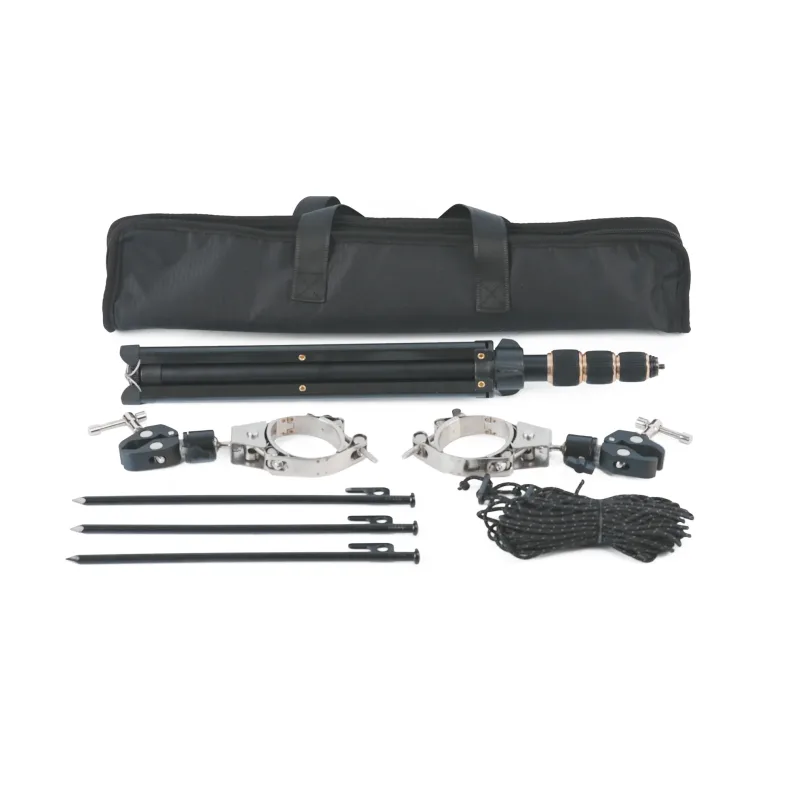
- A side-exit chimney tripod kit (which includes a tripod, fixation rings, ground pegs, and guylines)
Detailed Installation Steps
- Initial Setup and Marking First, assemble the main body of the stove, but do not attach the chimney support plate yet. Connect a 90° elbow and a pipe section, then rotate it 90 degrees to simulate the horizontal exit. Position this pipe at your desired exit point on the tent door and make a mark on the tent fabric.
- Installing the Heat Shield Ring Install the heat shield ring at the marked position. You can unzip the tent door, fit the opening of the heat shield around the door flap, and secure it firmly with the attached clamp buckles. For a tighter seal, close the zipper completely and use the integrated drawcord to cinch the tent zipper and the heat shield ring together.
- Building the External Chimney System Feed the horizontal stove pipe through the installed heat shield, ensuring it extends sufficiently outside the tent. Next, set up the tripod outside.
- Slide one fixation ring onto the horizontal pipe section and clamp it to the lower part of the tripod.
- Slide another fixation ring onto the vertical pipe section and clamp it to the top of the tripod.
- Adjust the angle of the adjustable elbow to ensure the final vertical pipe section is perpendicular to the ground. Once in position, tighten the elbow to lock it in place.
- Securing and Reinforcing Use ground pegs to firmly secure the tripod’s support legs to the ground. If you are camping in windy conditions, it is highly recommended to use guylines attached to the tripod and staked out at various angles for extra stability.
Key Considerations
- Preheat the Chimney: Before igniting the stove, it is essential to adequately preheat the chimney (e.g., with a blowtorch). This step is crucial as it creates the initial draft needed for the stove to start and operate smoothly.
- Maintain Sufficient Draft: It is vital to understand that only a vertical chimney creates effective draft, while horizontal pipe runs create drag. Therefore, for every length of horizontal pipe you install, you must add an equal or greater length to the vertical section to compensate for the drag and ensure sufficient total draft is generated.
Enjoy Your Hot Tent
Once you have completed these steps, you can safely light your stove and enjoy the warmth and comfort of hot tent camping in any tent. This ingenious system frees you from the limitations of your tent type, greatly extending your camping season and comfort.
Hori 5: https://green-stove.us/shop/hori5-all-in-one-tent-pellet-wood-burning-stove/
Chimney standard: https://green-stove.us/shop/hori-5-side-exit-chimney-tripod-kit-for-chimney-standard/
Protect Ring: https://green-stove.us/shop/hori-5-heat-protect-ring-hot-tent-solution/